Our Process
Precision workmanship from preparation to final seal.
At Craftsman Caulking, every project follows a careful, professional process to ensure long-lasting performance and clean, precise results. Proper caulking is more than just applying sealant—it requires the right materials, thorough preparation, and careful finishing to create joints that protect your property for years to come.
1. Select the Right Sealant
Choosing the right materials for lasting performance.
Every job begins with selecting the proper sealant for the specific surfaces and joint type. Using the correct material ensures maximum adhesion, flexibility, and durability, especially in areas exposed to movement or weather.
Process includes:
Selecting the proper sealant for the surfaces and joint type
Ensuring maximum adhesion and flexibility
Prioritizing long-term durability and weather resistance
Considering colour match and finished appearance
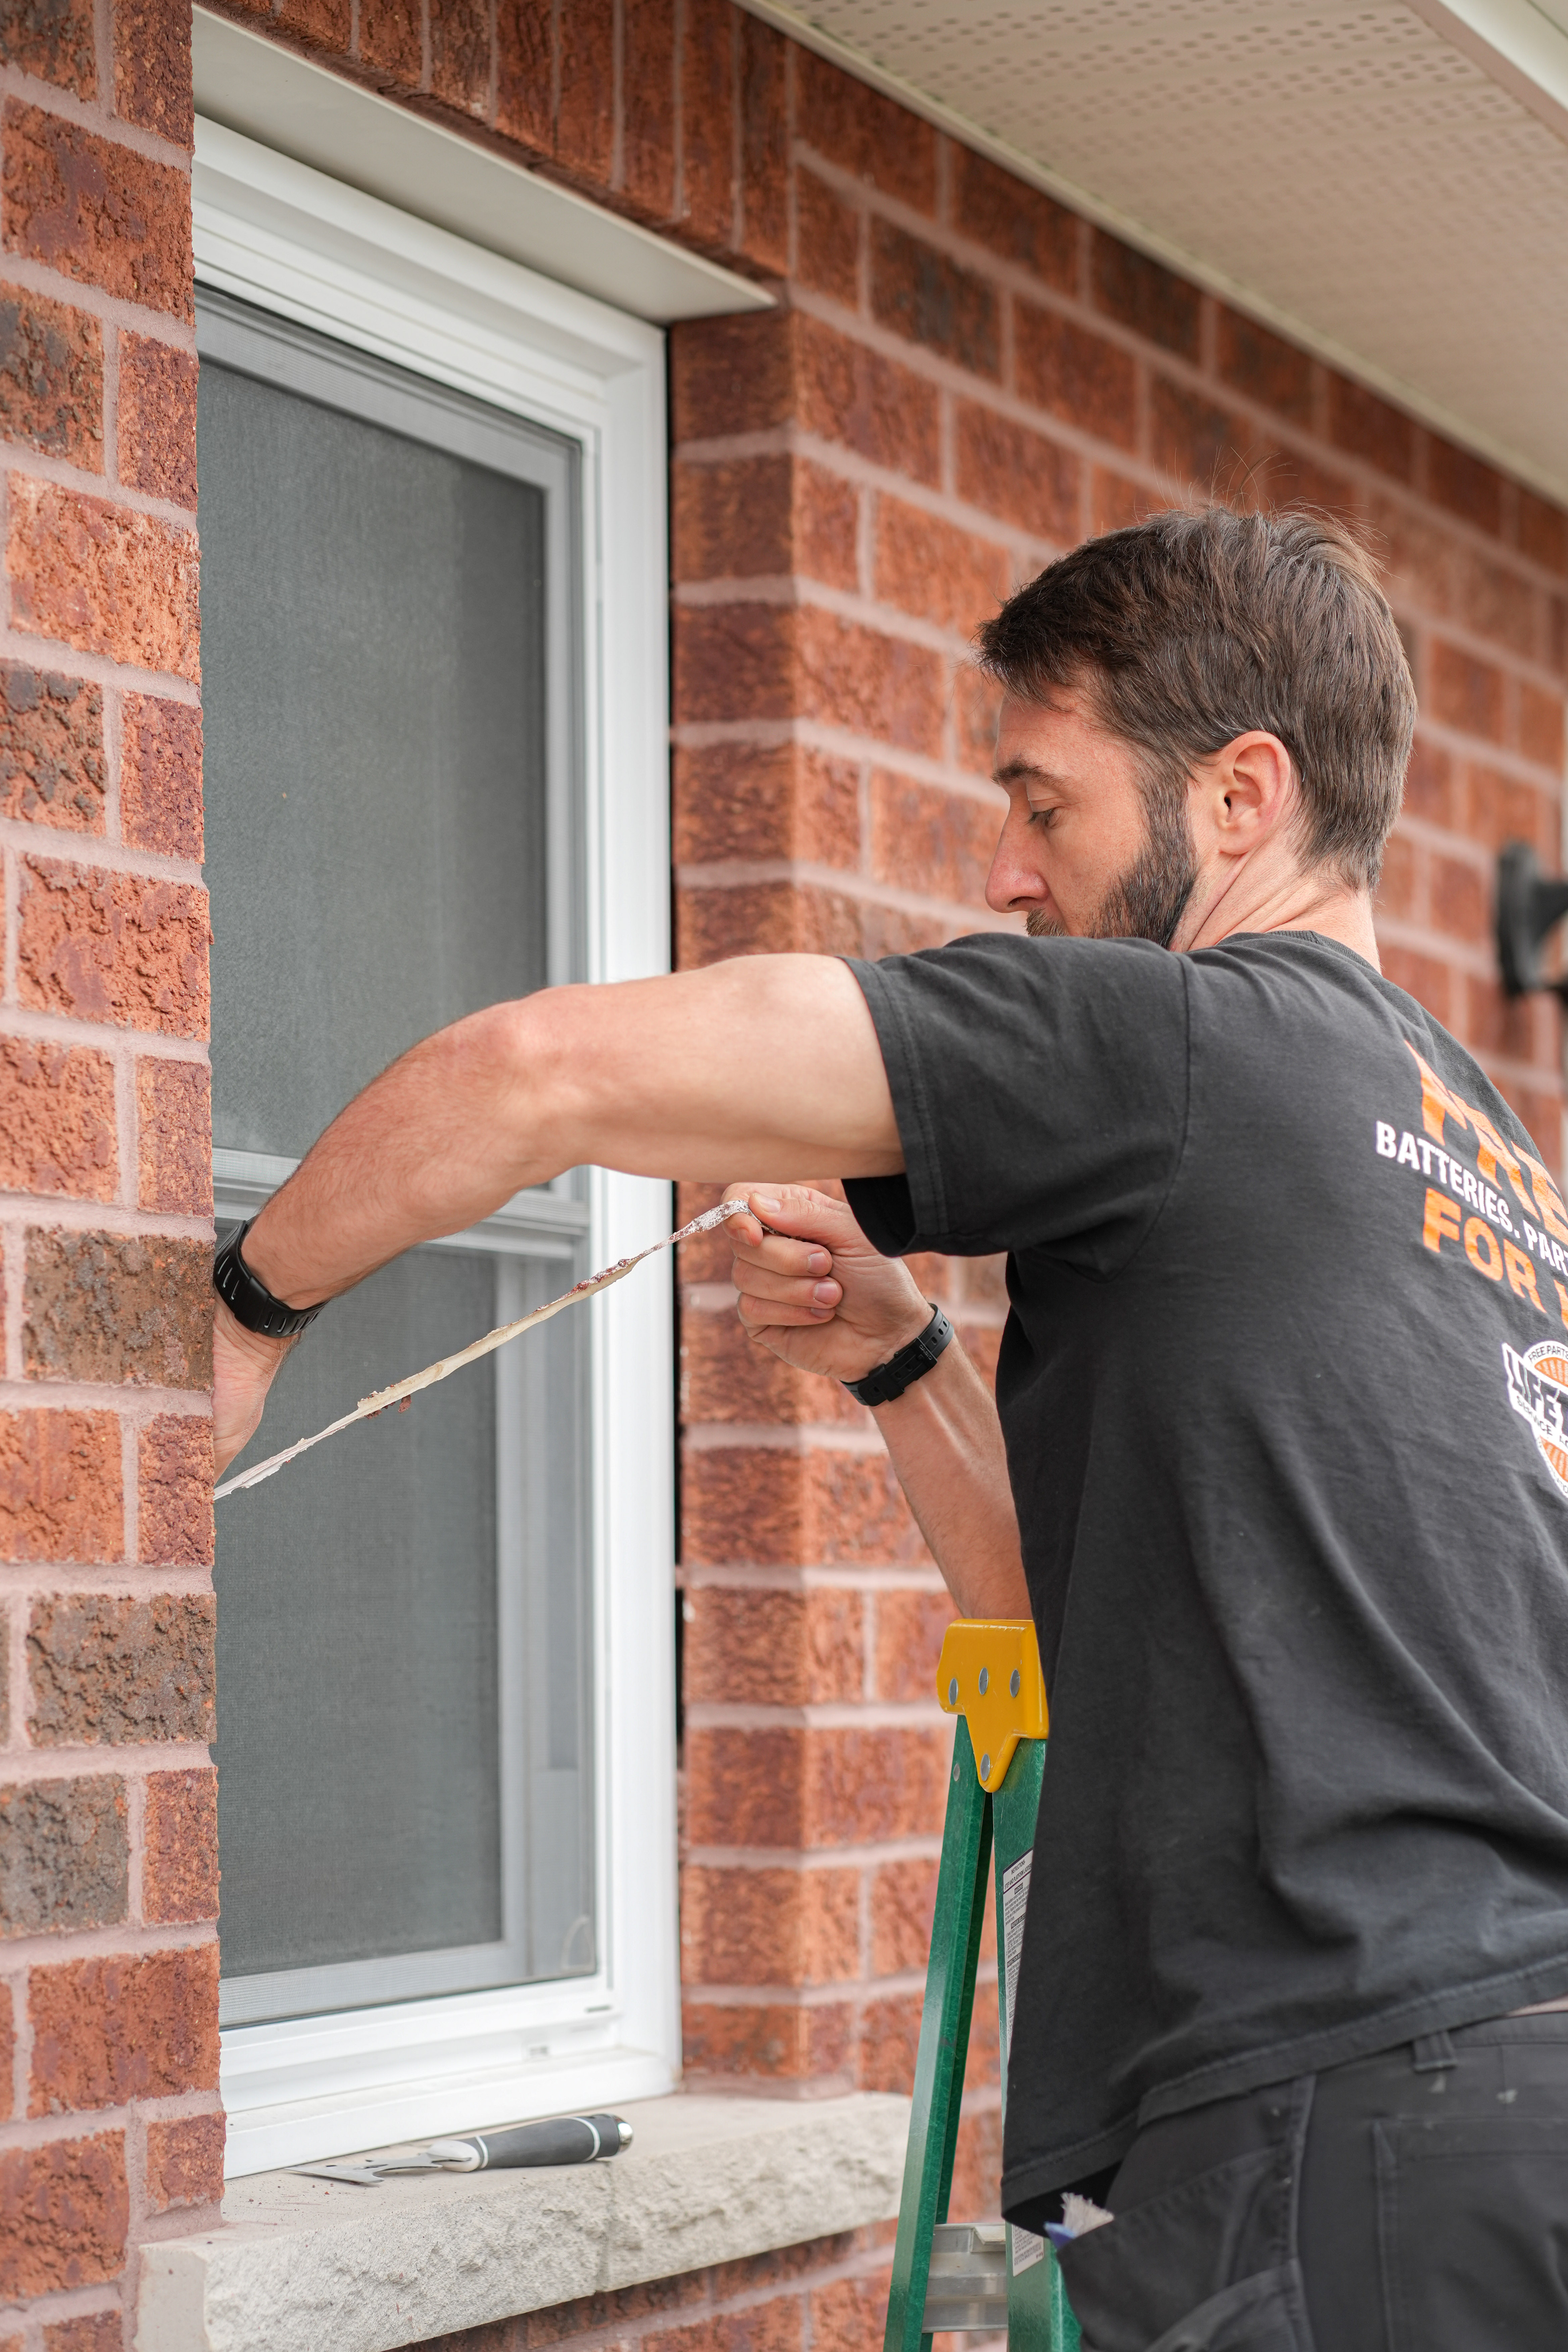
2. Remove Failed Sealant
Starting with a clean surface for reliable results.
Old or deteriorated sealant must be completely removed before new material can perform properly. Proper removal prevents future failures and ensures the new sealant bonds correctly to the surface.
Process includes:
Careful manual removal of existing caulking
Clearing debris and loose material from the joint
Cleaning surfaces to ensure proper adhesion
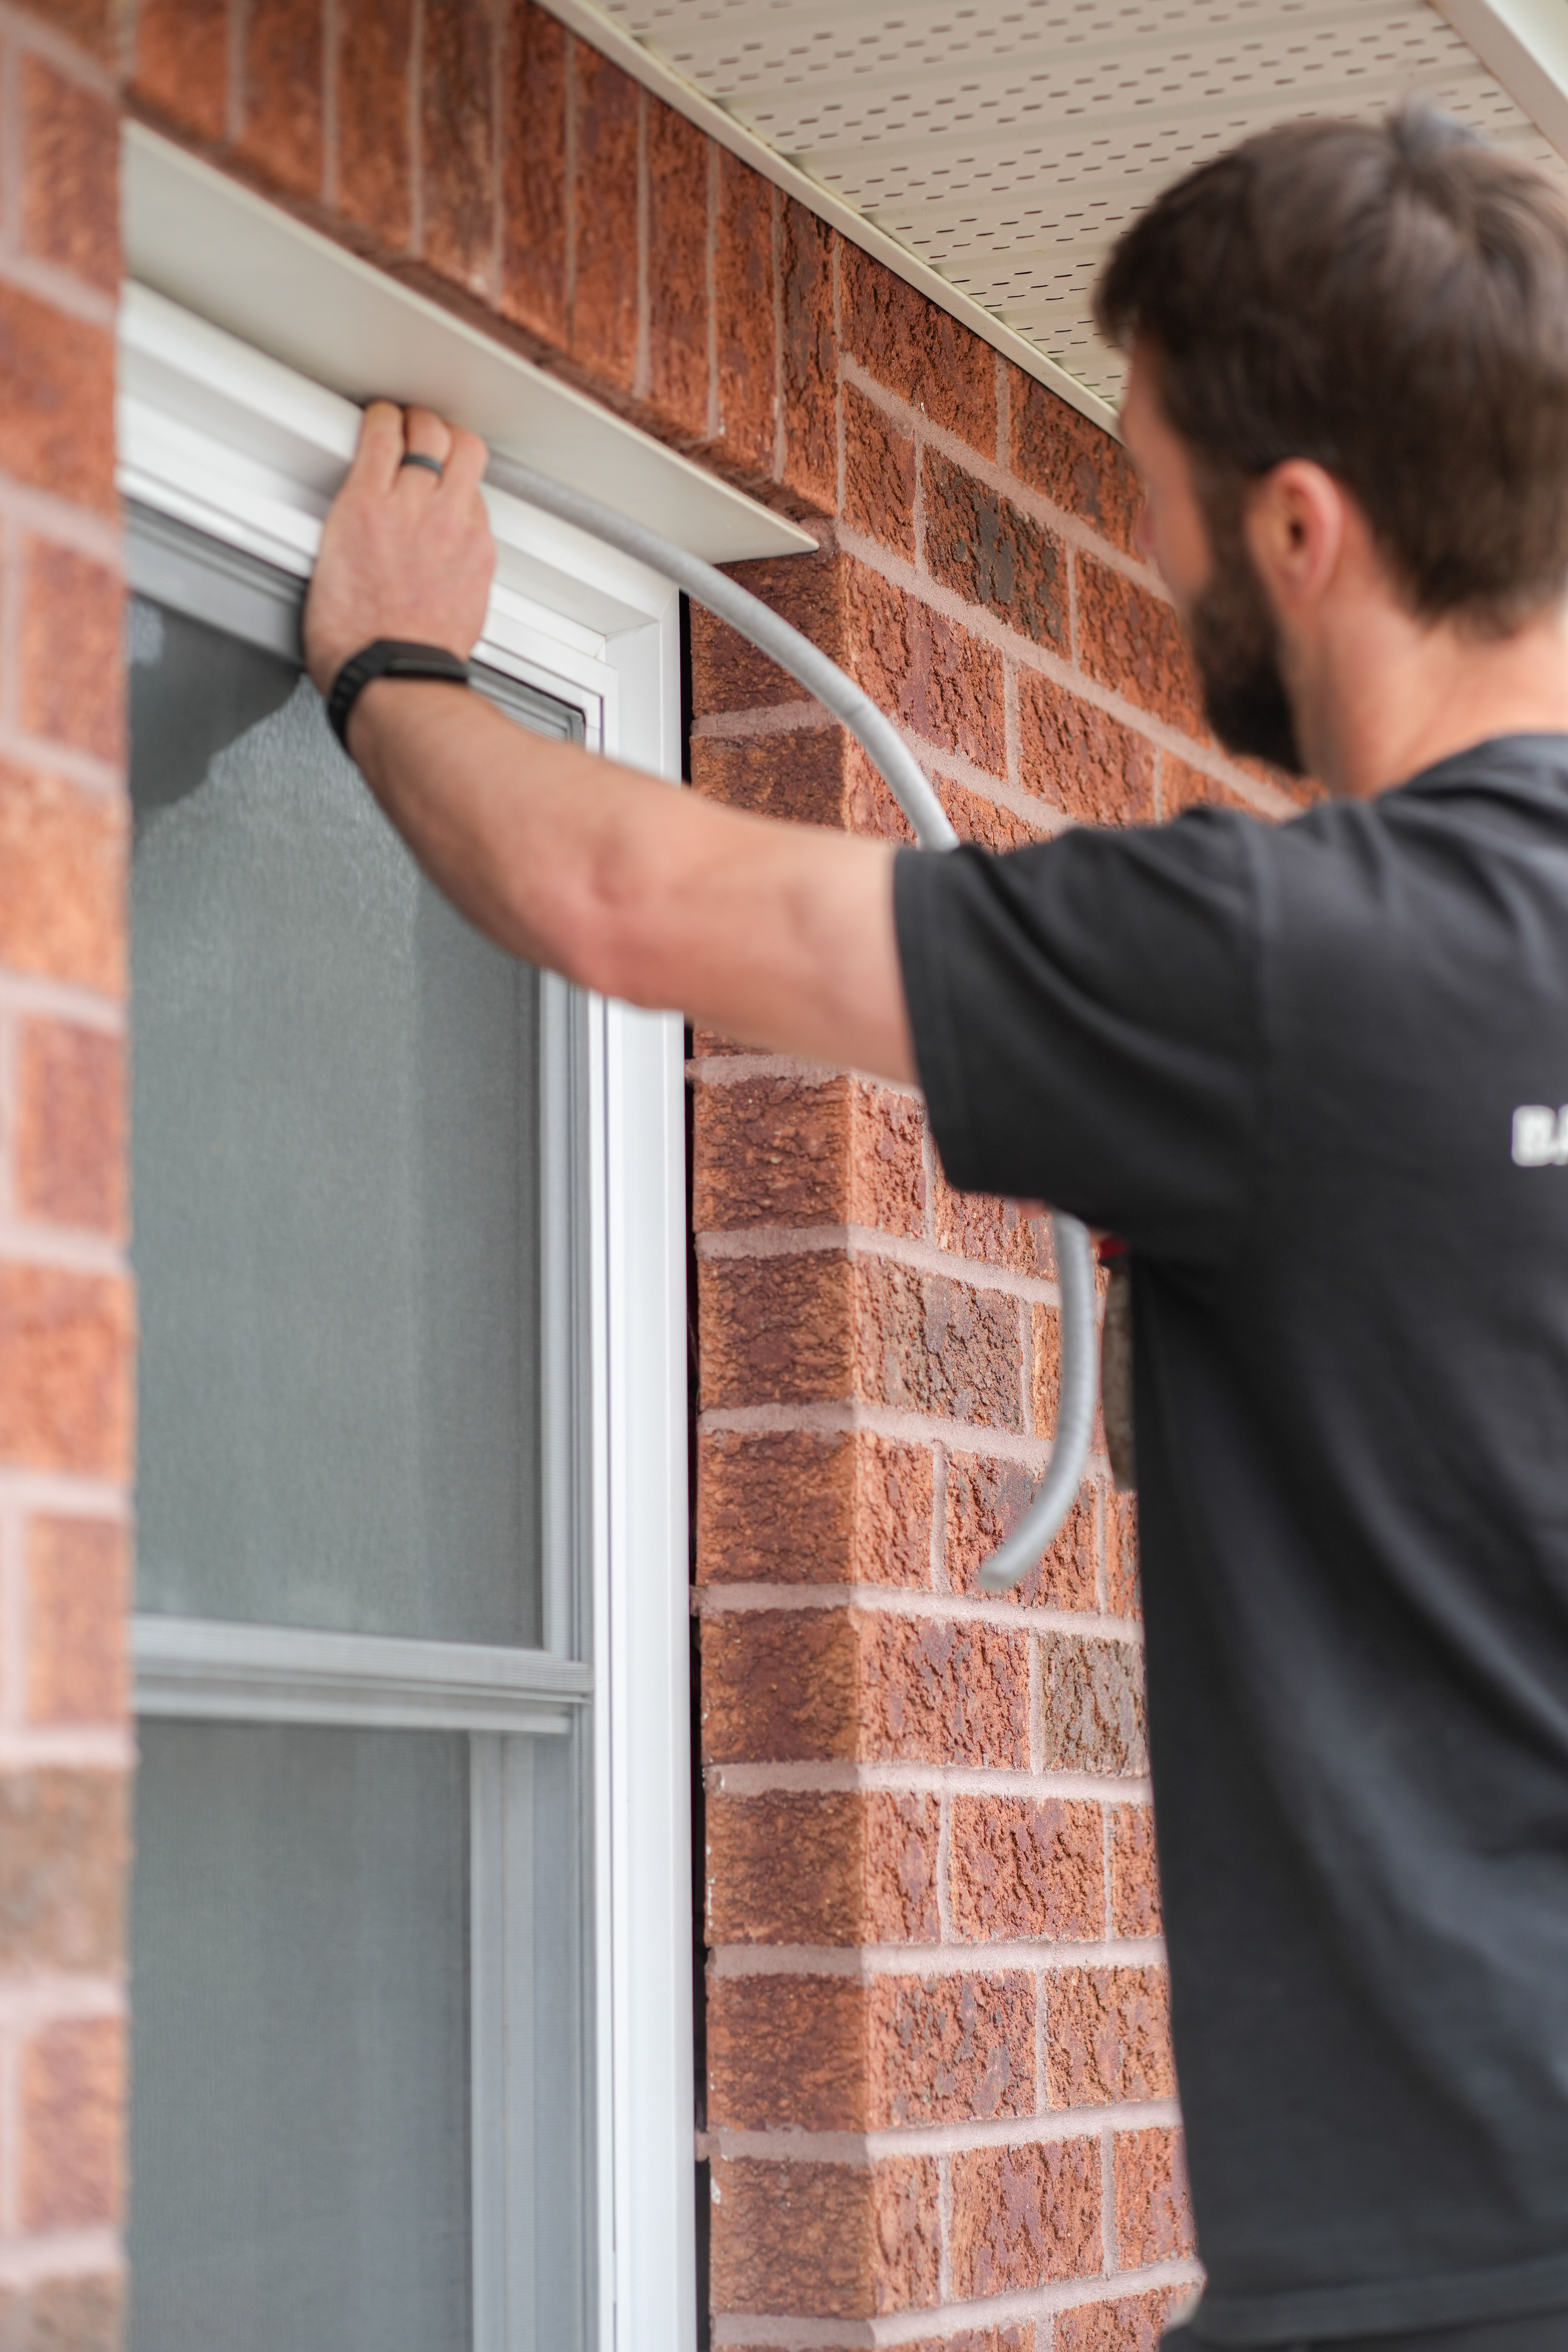
3. Prepare The Joint
Proper preparation ensures the sealant performs as designed.
Joint preparation is critical for durability and flexibility. By controlling joint depth and installing proper backing materials when required, the sealant can move with the building without cracking or failing prematurely
Process includes:
Installing backer rod where required
Controlling joint depth for proper flexibility
Preventing three-sided adhesion that can cause premature failure
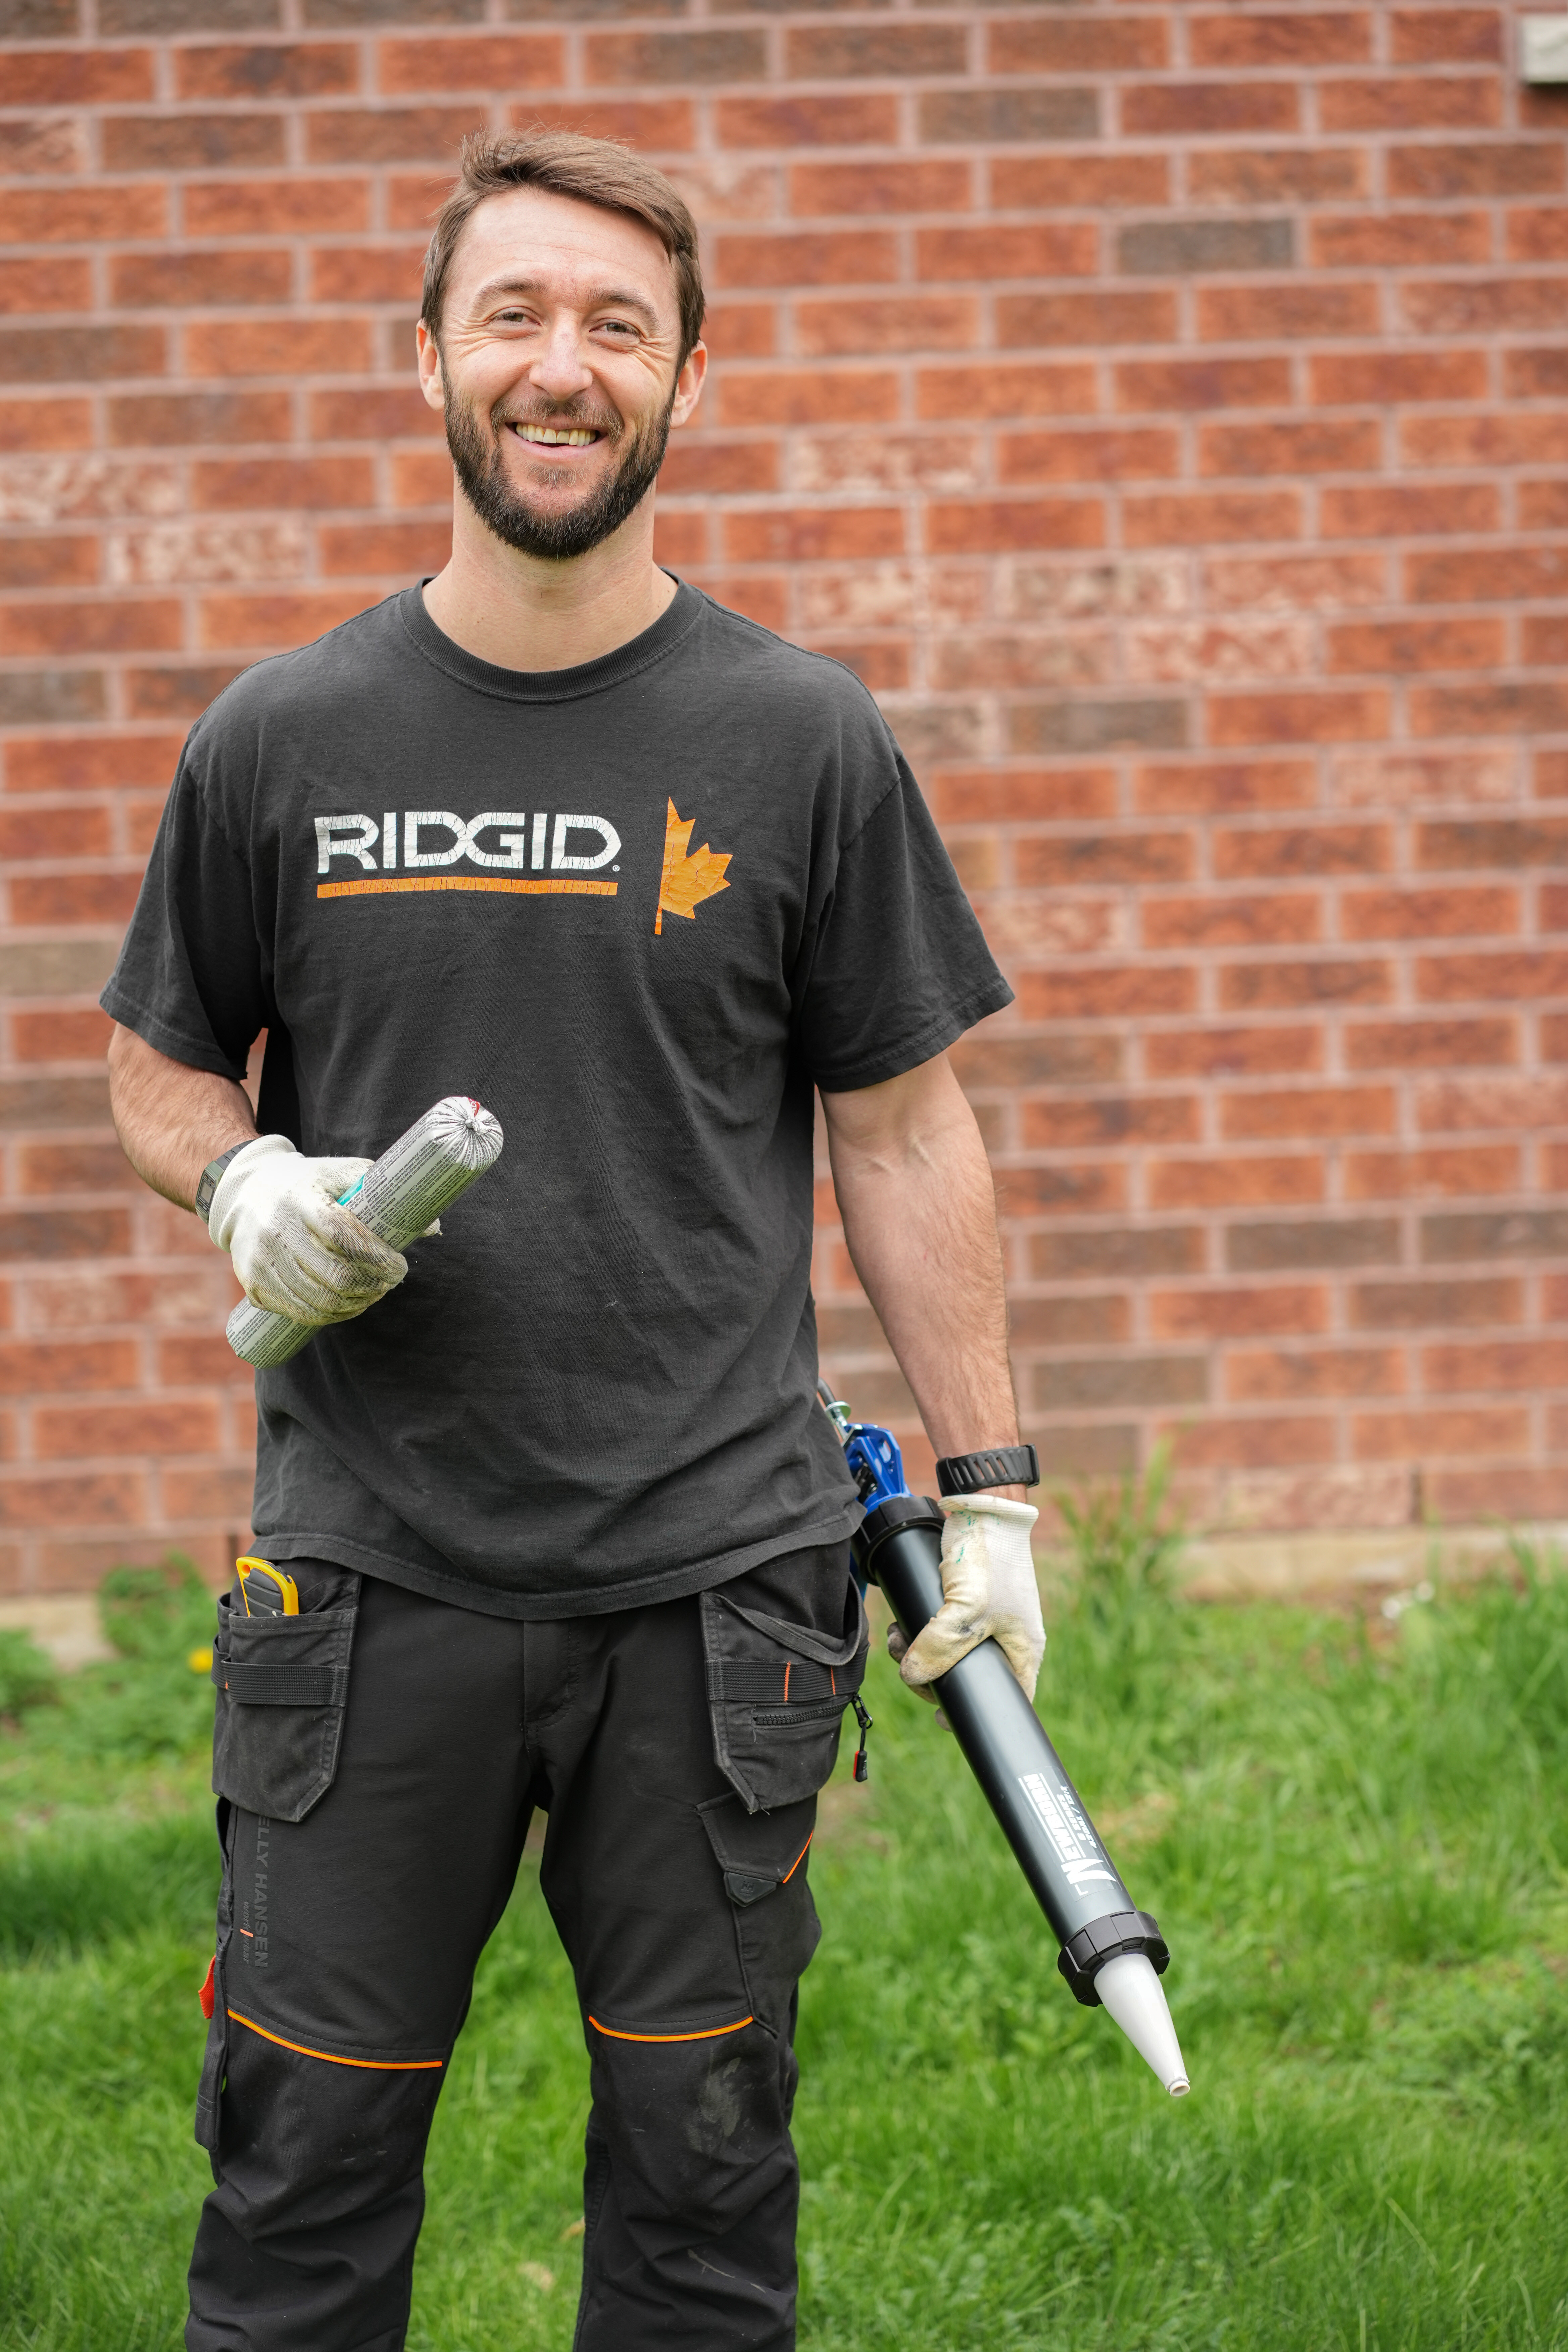
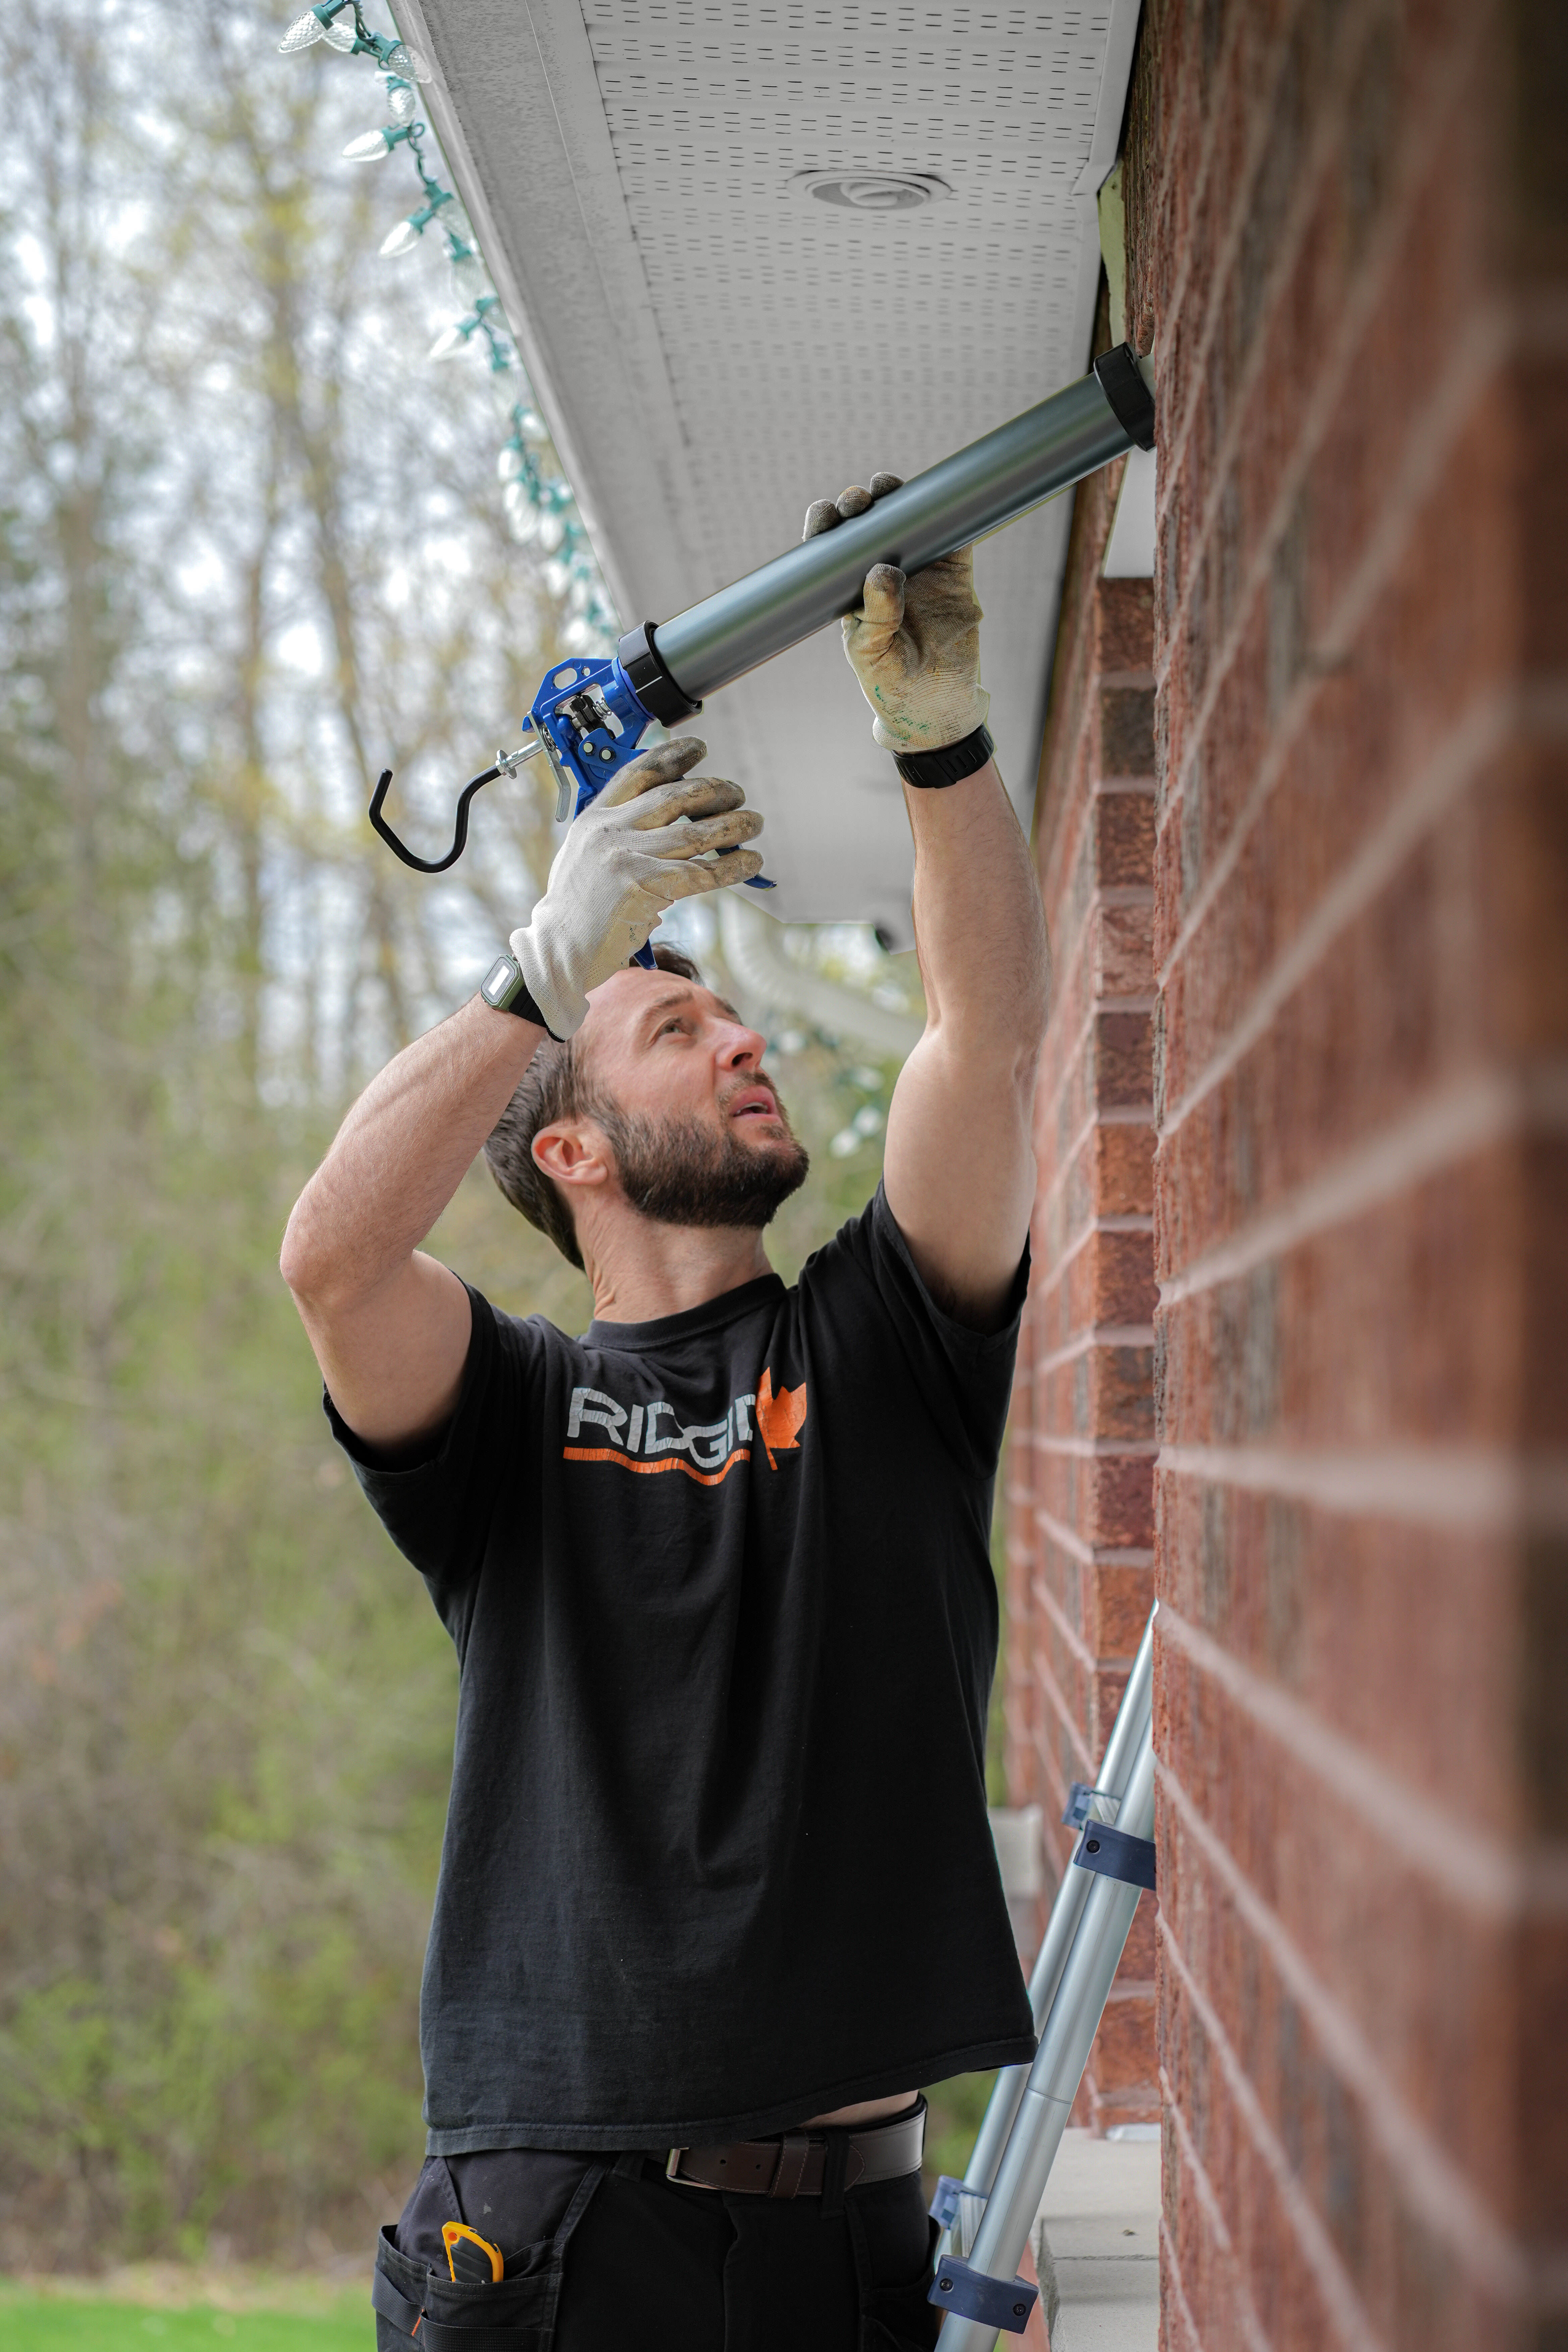
4. Apply The Sealant
Precision application for a clean, professional seal.
Sealant is applied with careful control to ensure full coverage and proper joint performance. The correct bead size and technique help create a consistent seal that protects against moisture and air infiltration.
Process includes:
Using the proper bead size for the joint width
Ensuring full coverage of the gap
Creating consistent, professional lines
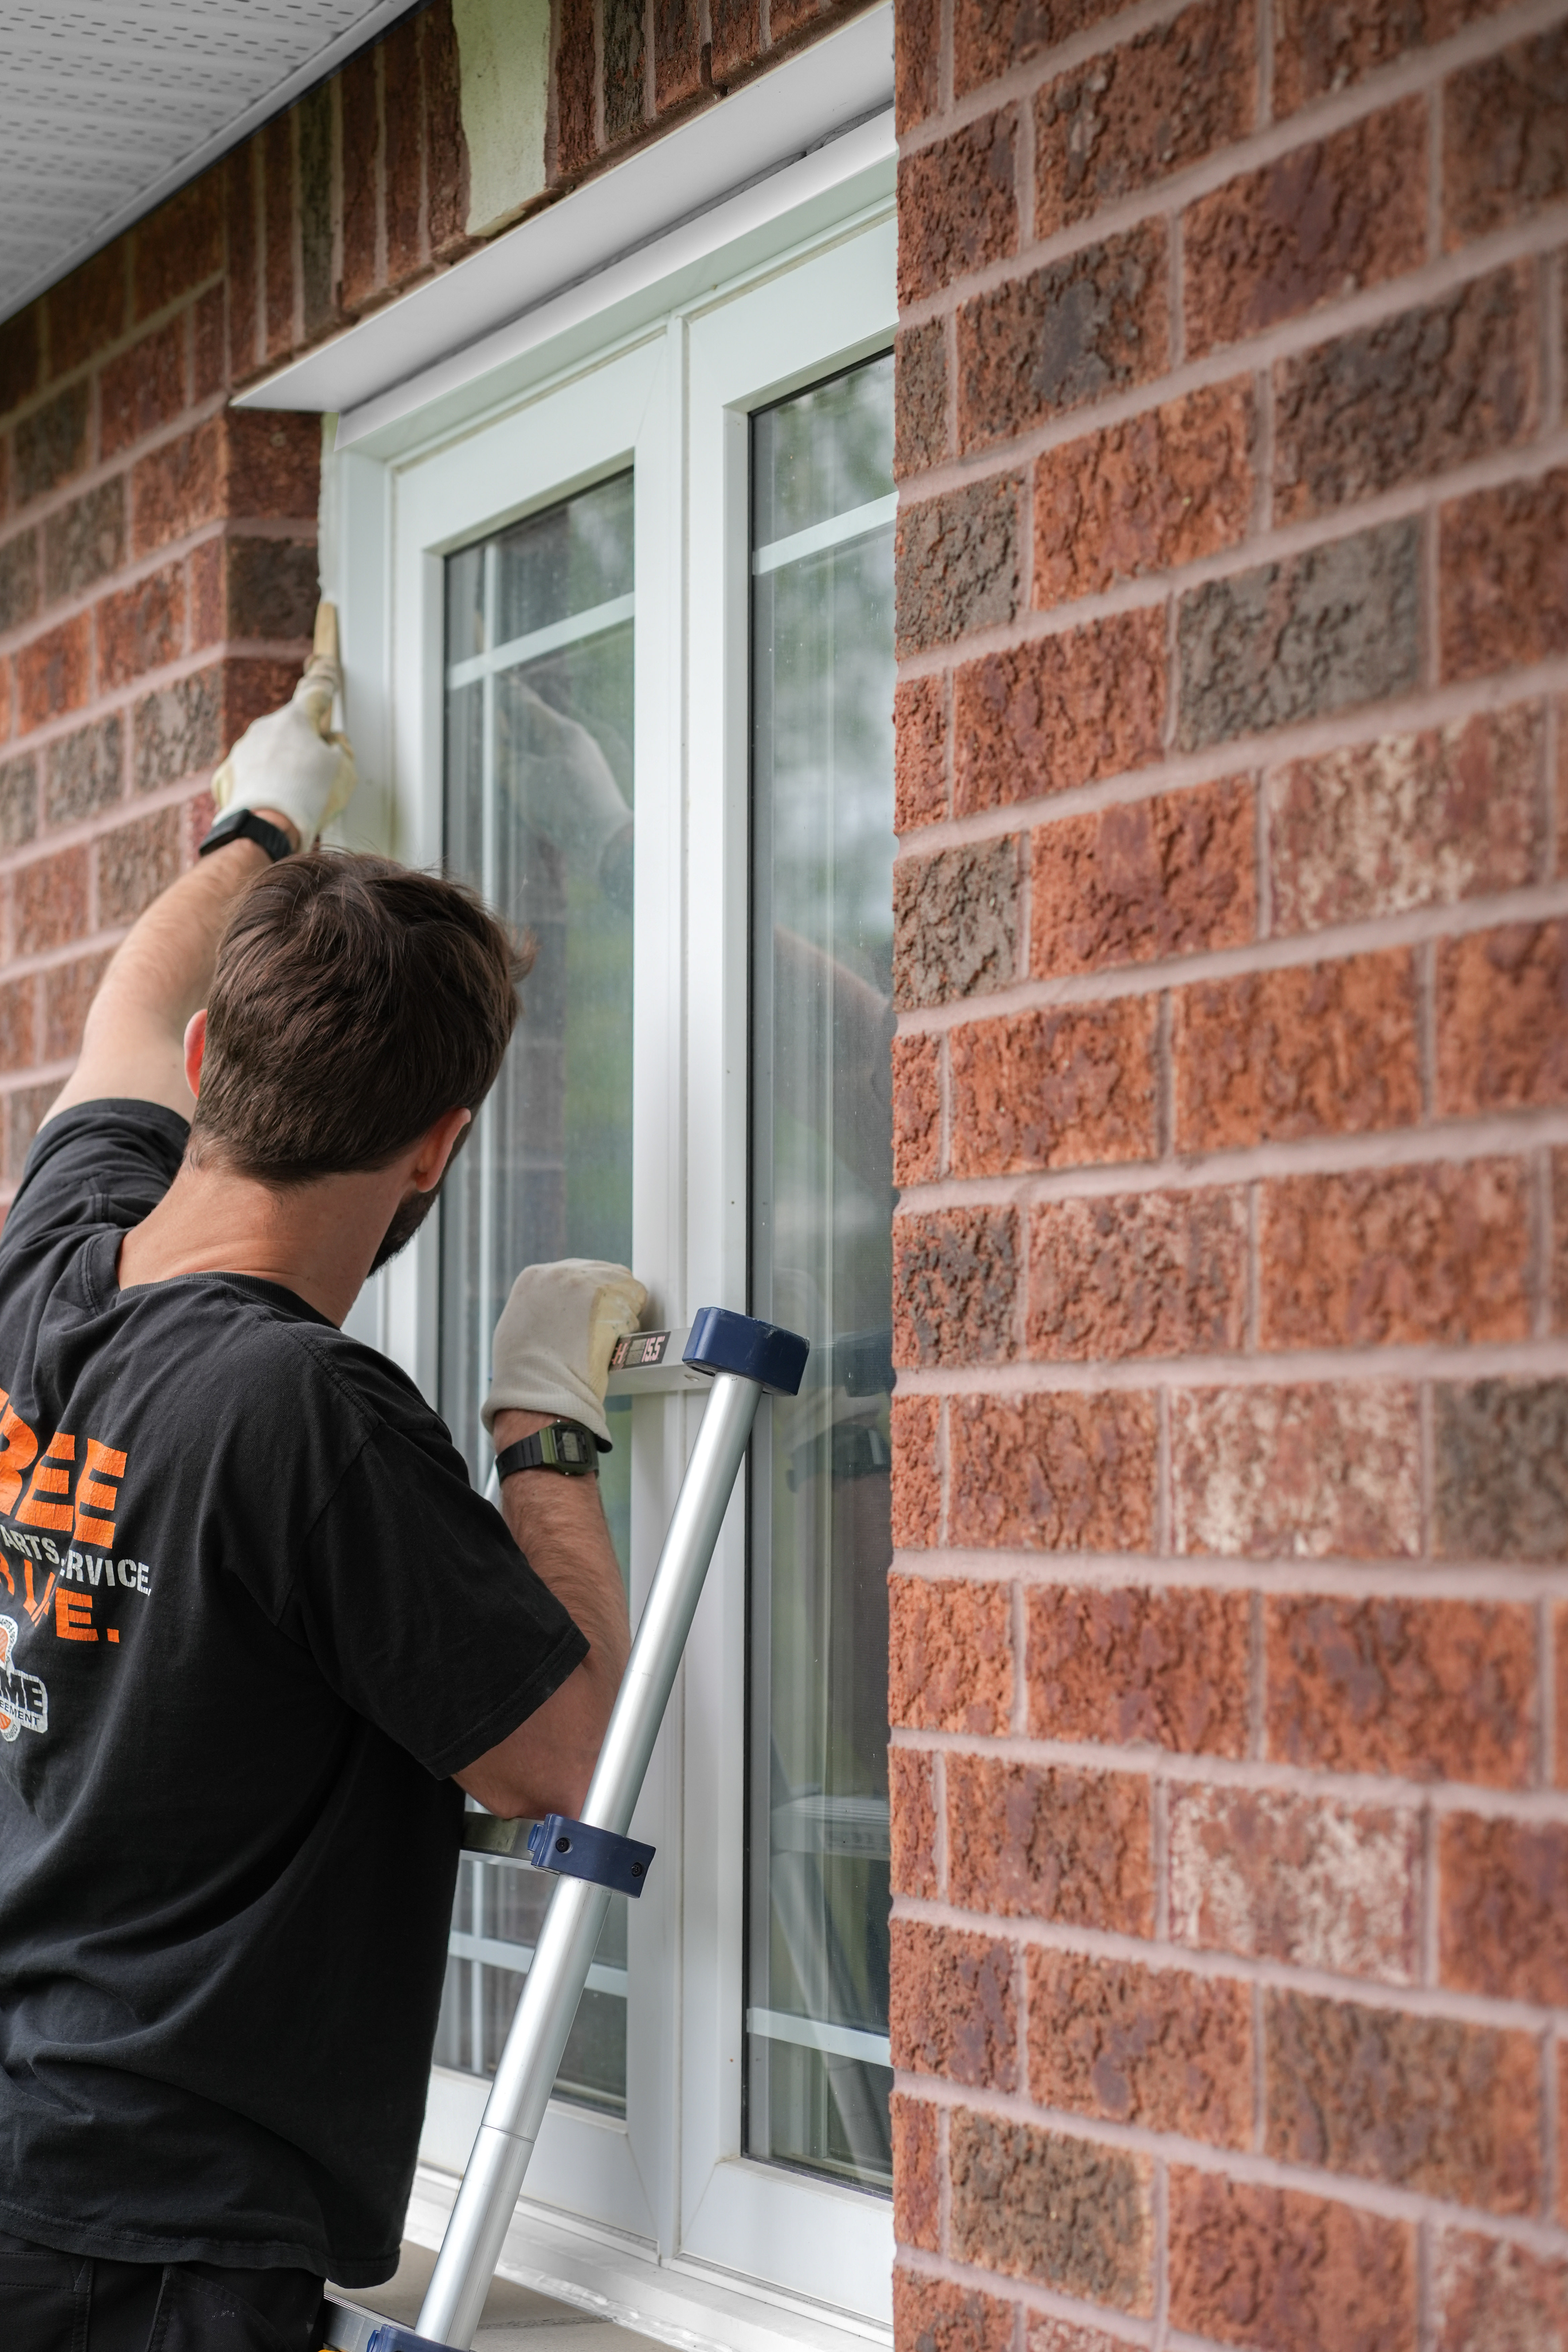
5. Tool The Joint
Shaping the seal for durability and movement.
Tooling is a critical step that ensures the sealant bonds properly to the joint surfaces. This process eliminates air pockets and forms a concave joint shape that allows the sealant to flex with building movement.
Process includes:
Compressing sealant firmly against the joint surfaces
Eliminating air pockets
Creating a concave joint profile that allows proper movement
6. Final Inspection & Clean Up
Ensuring quality workmanship and a clean finish.
Every project concludes with a detailed inspection to confirm that joints are properly sealed and finished. We also ensure the work area is left clean and tidy so your property looks its best.
Process includes:
Confirming joints are fully sealed and properly finished
Removing all waste materials from the site
Leaving your property clean and professionally sealed
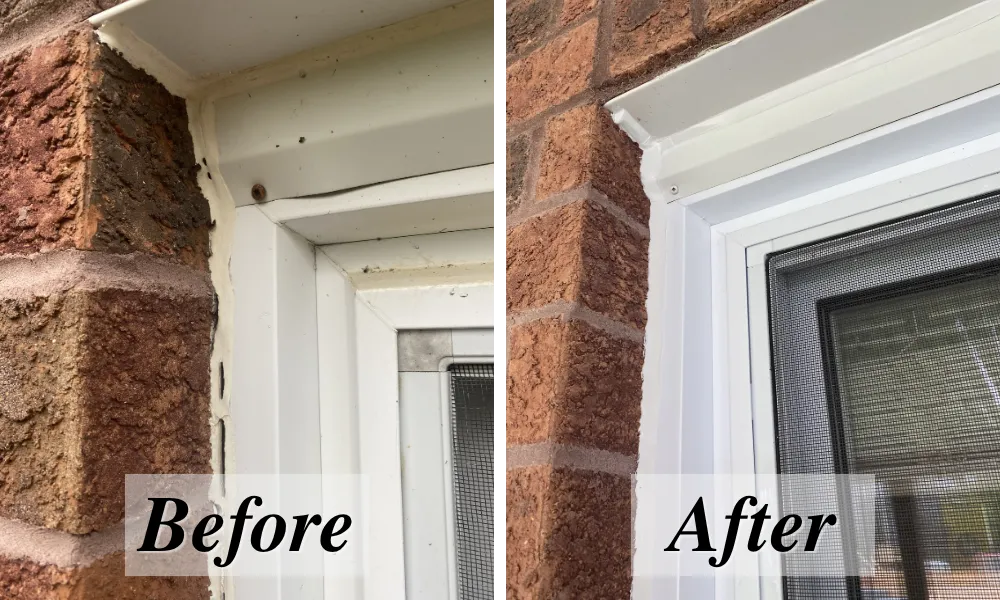
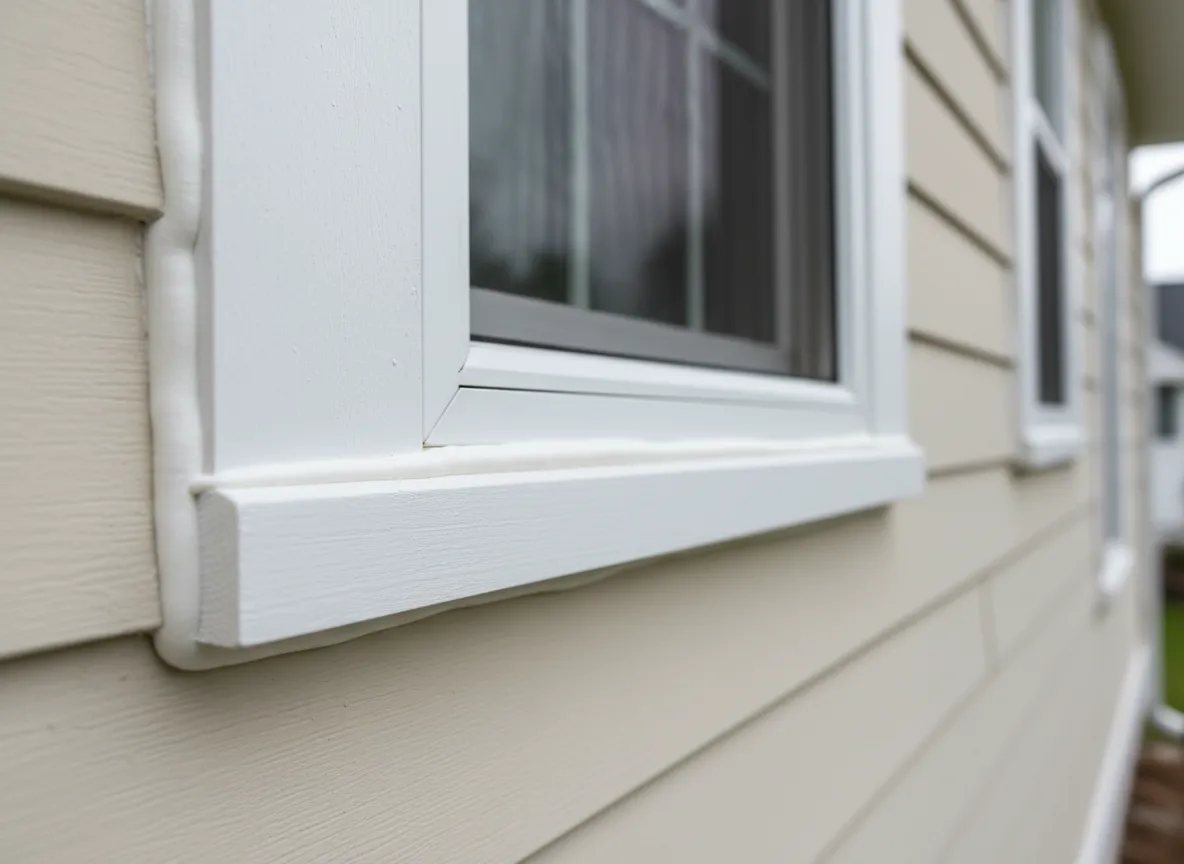
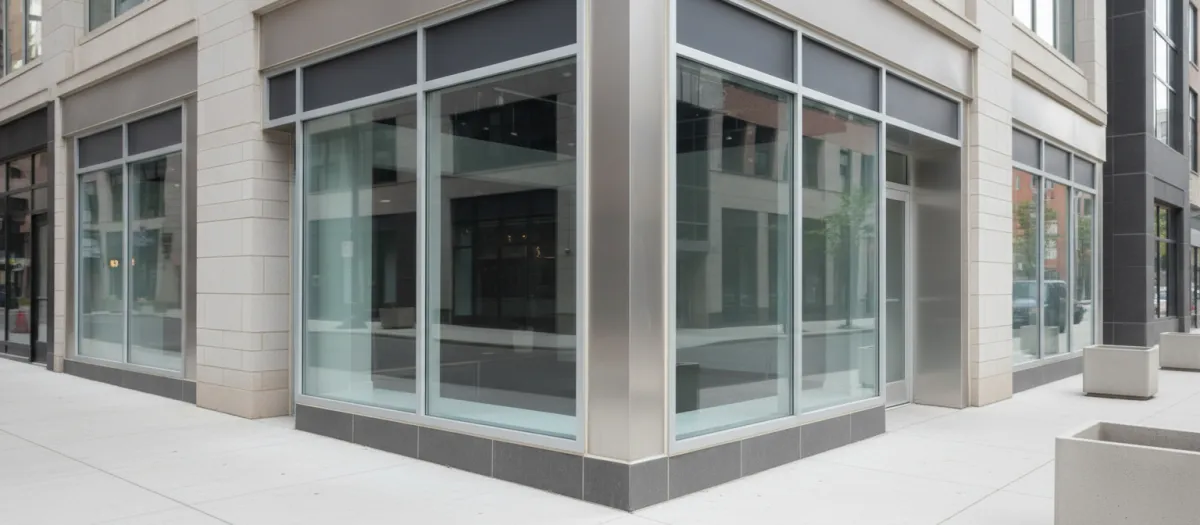
Project gallery
Crisp lines that disappear into your finishes
Every bead is tooled by hand for a clean, consistent profile. These are the kinds of details that make trim, tile, and fixtures look finished.
Browse a few examples of recent residential and commercial work completed right here in the community.
Happy neighbors, tight seals
What local homeowners are saying
Join dozens of local families and businesses who have sealed out drafts, leaks, and moisture with Craftsman Caulking.
“We had cold air pouring in around our old windows. Craftsman Caulking sealed everything inside and out in a single day. The difference in comfort was immediate.”
Sarah M. · Residential window & door caulking
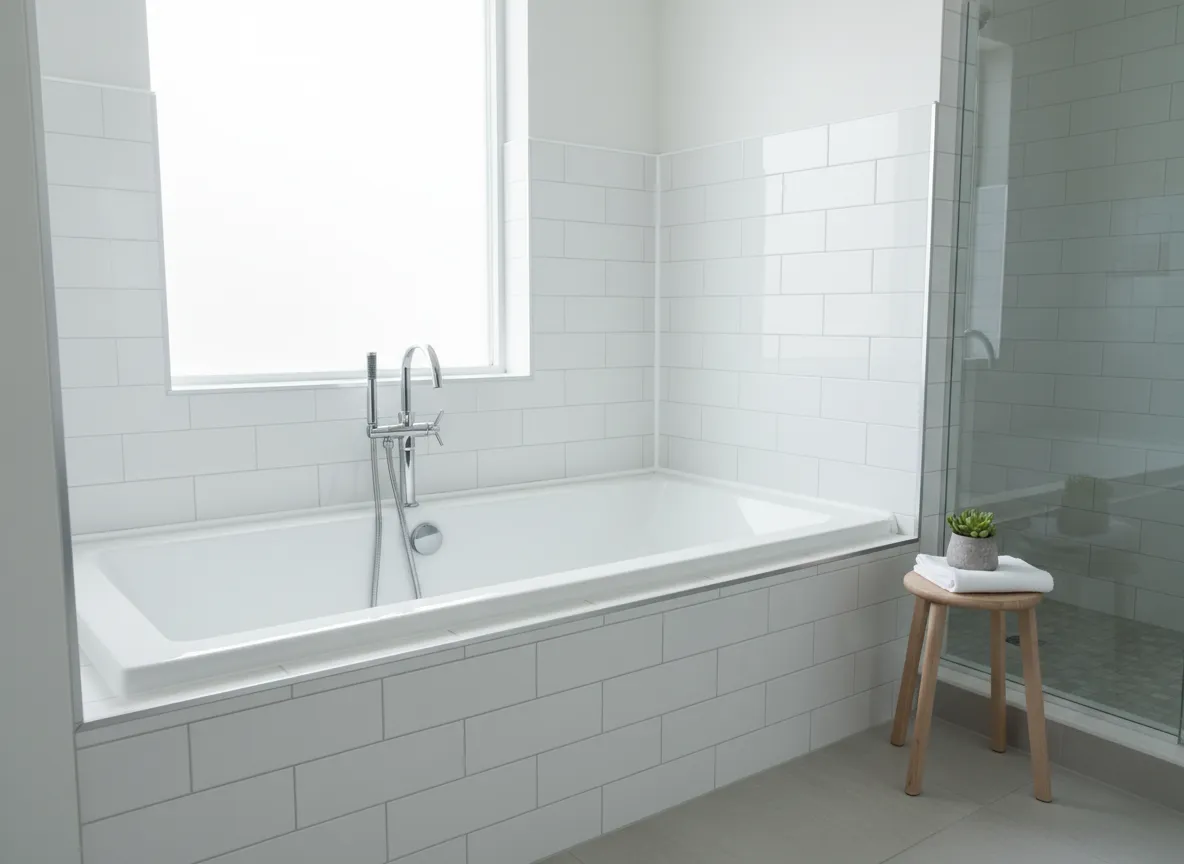
“They removed all of the black, moldy caulk in our bathrooms, ventilated properly, and re-caulked with a clean, bright line. It looks like a hotel now.”
Jared & Lina K. · Bathroom re-caulking
“They handled all the exterior joints on our small plaza—storefront glass, expansion joints, everything. Professional crew, stayed on schedule, and left the site spotless.”
Marcus R. · Commercial building manager
Questions
Caulking FAQs
How long does a typical caulking project take?
Most residential projects, such as re-caulking bathrooms, kitchens, or a full set of windows and doors, can be completed in a single day. Larger homes or commercial buildings may take 1–3 days depending on scope and weather.
Do I need to be home during the work?
For interior work, we ask that someone is available to let us in and review the job at the end of the day. For exterior-only projects, you do not need to be home as long as we have access and a contact number for any questions.
What types of caulk do you use?
We use professional-grade, paintable acrylics, silicones, and hybrid sealants from leading manufacturers, selected specifically for each application—wet areas, high-movement joints, exteriors exposed to UV, and more.
Will you remove the old caulk first?
Yes. Proper removal and surface prep are critical for long-lasting results. We carefully cut out failing caulk, clean and dry the area, and only then apply new sealant.
Ready to seal your home or building?
Fill out the form below and we’ll reach out within one business day to confirm your appointment time and walk through your project details.
Serving homeowners, property managers, and business owners across the local area.
Craftsman Caulking
Professional residential and commercial caulking services in Peterborough & surrounding areas.
© 2026 Craftsman Caulking. All rights reserved.
Need help now?
Call our team to check
our soonest availability.
(705) 809-3303